Showing posts with label 2015. Show all posts

Monday, November 21, 2016

2015-December: Potholders!

What better Christmas present for the sewing enthusiast to give out, than homemade potholders?  I took this opportunity to practice some patchwork techniques from this Purl Soho mini patchwork pincusion tutorial.  It had so much good stuff!

FRONTS!

BACKS!

(Scroll to end to see one more bonus potholder!)

I had wanted to make MANY potholders for everyone, but with all my other projects going on, and time in general, I only made them for 3 people.  I also had a design flaw: they are only quilted with one layer of batting, so they don't work very well as potholders!  You need to fold them in half.  Bummer!

#1 front

#1 back

#1 was just generically scrappy, using a log cabin technique.

#2 front

#2 back

#2 was a Nine Patch Block, using up some charm squares!  Am I getting fancy now, or what?

#3 front

#3 back

#3 was generally scrappy, using scraps from this mini quilt I did.

#4 front

#4 back

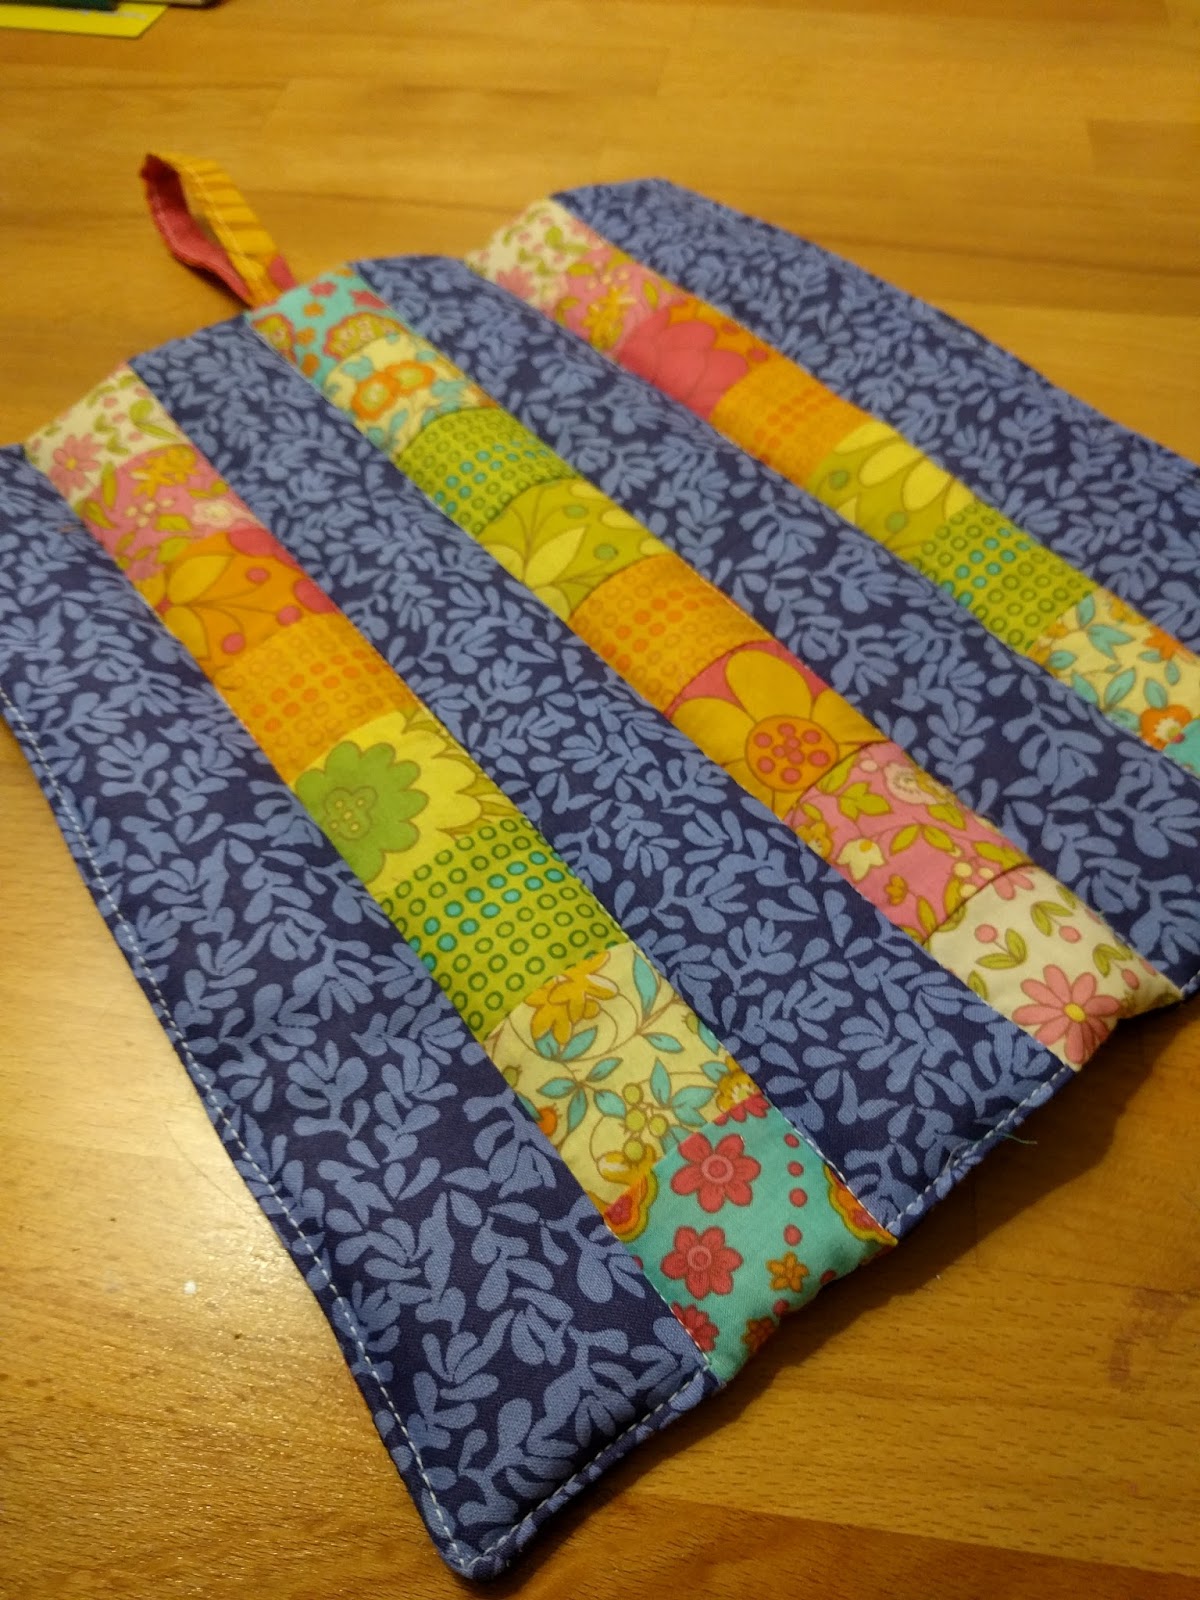
#4 was Stacked Coins, with rainbows! :)  It came out a lot bigger than the others, so it's more of a trivet.  Or something.

#5 Front

#5 Back

 #5 was generally scrappy.  Recognize scraps from this dress?
Oh, yeah! -- It was my first time binding something with store-bought bias tape! (later on, I learned to make my own!)


I really enjoyed making these. Patchwork is fun, and with some simple cutting and switching around, it can look so cool! (And like it was more complicated to do!  Ha ha!)  I recognize that all of these came out "fairly" to "wicked" wonky, depending on your standards, but  for this project, that was OK by me.

Monday, November 14, 2016

2015-December: Double Gauze "Half-and-Half" Crib Quilt, Green Flowers

SOFTEST QUILT EVER! I simply LOVE double gauze fabric.  It's unbelievably soft!!  Especially when used on BOTH SIDES of a baby blanket!


Wrap up the baby in cozy snuggles!!

This was my first double gauze project, a quilt for C. Double gauze is pricey, so I only bought some half-yard cuts of various prints.  I wanted to make the quilt as big as possible, so I minimized cuts.  The result was a double-sided double gauze quilt using 1/8 cuts of fabric!  Does that make sense?


Maybe I should call it the half-and-half quilt!  All together, it uses 2 yards of (assorted) fabric.  I spent a long time laying out where I wanted all the prints to go.  It is different on the two sides.


I DID NOT quilt in the ditch, for fear of it looking messy on the reverse. (Remember, both sides are made of patchwork!) So I quilted not-in-the-ditch, offset, and it looks like windows.


I used regular puffy polyester batting, turned and topstitched, and this is the most cuddly quilt ever.


 I dub this project an absolute success, and if you like it, too, I WILL be making more of these for my future shop!  I believe every baby should have one!!


2015-December: Trim green AIO Diaper

I made another size medium AIO diaper for C., from Arfy's pattern with my modifications.  Sorry I don't have better photos!


I also made a nice snap-in hemp blend insert :)


I was experimenting with putting the back snap reinforcement on the OUTSIDE (this is a PUL scrap).  The thinking was, it could be my brand label in the future.  Ultimately I designed the snaps to be within the diaper so I didn't need to do this.  BUT it does look cool, and acts as a bonus hanging loop!


Loved this diaper till she outgrew it!


2015-December: Headband Gifts (Elsa and Rainbow Swirls)

Now I was into Christmas mode and making gifts!  These two headbands went to E. and another friend.  I used this knit headband tutorial, but have since decided that it doesn't need to be nearly as wide!  I don't quite remember, but after this exercise, I made changes to my process of making headbands.


2015-December: Doctor Who Zippered Pouch

I had some PUL left over from this Doctor Who diaper, so I decided to make a waterproof zippered pouch for my friend C.!  I used this tutorial from Purl Soho, only I didn't line it.


process pic of putting zipper on


Even though the zipper was a bit wonky on the ends, I think it came out pretty well.  It was fairly easy to make, too!

I added a little scrap of knit fabric for a hanger loop, too.


  Hey, C., what are you using this bag for? :)

Wednesday, November 9, 2016

2015-December: Elephants and Fall Flight Long Sleeved Shirts

I made two shirts simultaneously: a leafy, stripey one for C., and an elephanty, stripey one for my friend's daughter, A!  I was quite pleased with the results!

The blue striped sleeves (L) and the red panel and back (R) are from old shirts of mine.


Pattern was the lap tee from Fishsticks Designs' Wee Tot Collection.  C. still wears this shirt almost a year later and it has fit well the whole time.  Yay!


Thursday, November 3, 2016

2015-November/December: K Mini Quilt

This was my second quilt, a small one -- but super complicated!  It took plenty of design skills, mathematics, and patience!


I made up my own quilt pattern and it came out just how I wanted, so that's something to be proud of!


I gave this quilt to my friend K., to show support while her family was/is going through some tough health issues.  All their names start with K.


It was quilting cottons on the front and super soft minky on the back.


Process photos below!


I planned out my design, then grouped and cut and grouped and sewed a bunch of squares and half-square triangles.  There was much grouping going on, and keeping piles in order.

I laid everything out the way I wanted every step of the way, so as not to mess up!  Everyone knew not to touch my desk!! (although, looks like a My Little Pony snuck in there!)

Here is one of the blocks.

Four "K heart" blocks sewn and laid out with middle pieces

Sewing the middle

More middle

Look!  I get so confused with these things, I wrote out the order of sewing everything together, took this picture, and worked from it!

I added the border . . .

Once I had the top, I zigzag sewed the edge to the batting.  This step is probably not necessary, but I do it for extra insurance against the batting shifting all over the place. I have anxious visions of this!

Then I pinned (right sides together) to the minky back, sewed my quilt sandwich, trimmed a bit, and turned and topstitched!

My quilting lines were "in the ditch" along the border and nine large squares in the middle.


It came out just as I'd envisioned it, and I'm quite proud of it!  All the Ks liked it too, and I'm always thinking of you guys. <3